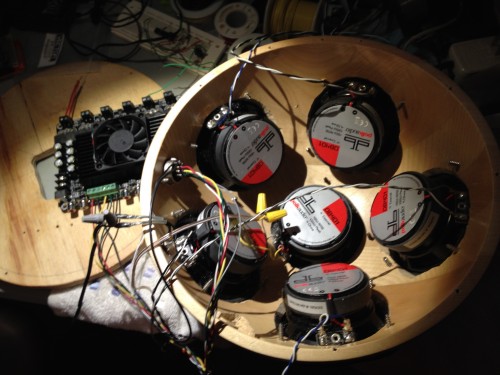
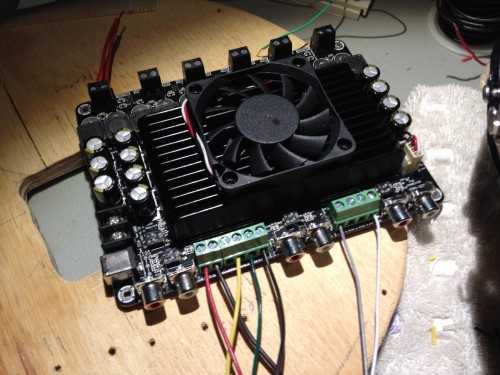
I recently completed my second salad bowl hemi speaker. (See info on the first one here, including links to the Princeton and Stanford laptop orchestras which provided excellent guides to construction.) My second speaker followed the design and construction of the first very closely, with the substitution of Polk Audio DB401 speakers. The Polk speakers were significantly cheaper than the Infinity speakers. I haven’t directly compared the speakers, but I remember the Infinity speakers to be heavier and louder than the Polk speakers. The frequency response of both seems very similar. I do prefer the mounting tabs on the Infinity speakers to the broad flange on the Polk speakers. When mounting them on a hemispherical surface, the Polk speaker flanges don’t lie quite as flat (er…curved).
Here are some photos I took during construction.
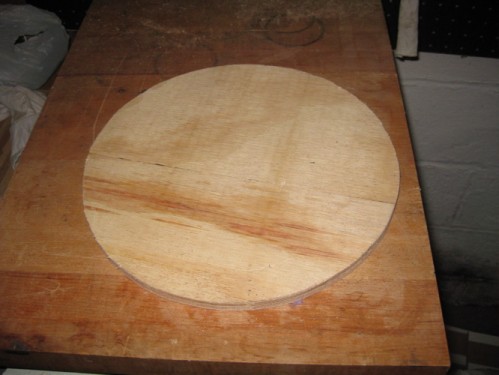
This is the bottom of the speaker. I simply scribed the circumference of the bowl on a piece of 1/2″ plywood and cut out the circle using a jigsaw.

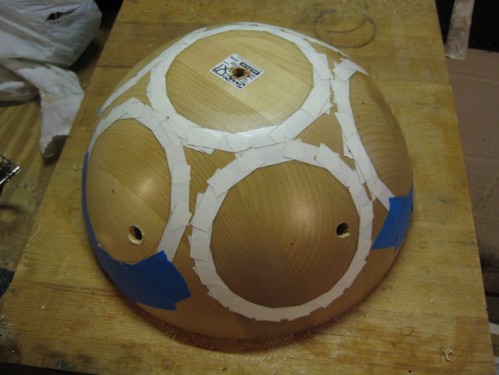
Salad bowl with speaker holes marked and taped
Here’s the bowl with the position of each speaker marked and taped. If you look closely you can see a small red mark at the center of each circle. I used a string attached to the center of the bowl to mark the center of all the equatorial speakers. The tape is simply to prevent the bottom of my jigsaw from scarring the surface of the bowl.
Salad bowl with holes drilled for jigsaw blade
Next I drilled holes in each speaker cutout large enough to fit the blade of my jigsaw.
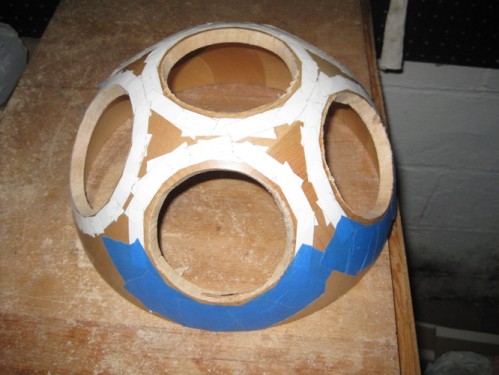
Salad bowl with speaker holes
Here’s the bowl with all the speaker holes cut. It’s easy to crack the salad bowl after removing so much of the material, so take care with all subsequent drilling and cutting.
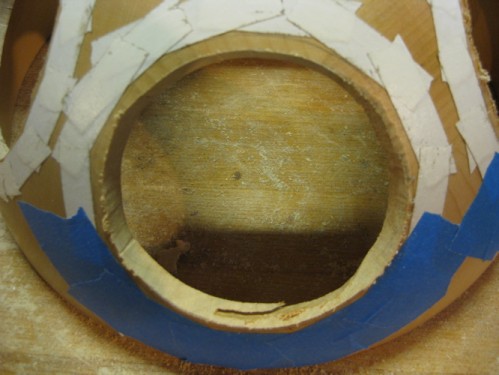
Detail of cut used to enlarge back of speaker opening
One result of working with the elliptical geometry of a hemisphere is that the back side of the holes we cut is slightly smaller than the front side. This might prevent your speakers from sitting flush against the surface. I only needed to trim a few places from the back of each circle to get the Infinity speakers to mount flush, but I had to cut the entire back edge of each opening in order to mount the Polk speakers.

Finished hemi showing knobs and connections
Here’s the finished speaker. (I know, I skipped plenty of intervening steps! I was having too much fun putting all the pieces together to stop and take pictures.) The volume knobs (one for each stereo amp) are on the left. In the middle is the power connector. On the right is a 6-conductor Neutrik connector for all the audio signals.

Finished hemi on top of subwoofer
A front view of the finished speaker. It’s sitting on top of a Sony subwoofer I picked up at a yard sale. The two together have a nice R2-unit look. I’ve set the crossover fairly high (around 300Hz). I expect I’ll back it down after some more listening tests.
I’ve already performed once with this hemi. So far, the biggest problem I’ve encountered is having the amps cut out on me when the input levels get too high. The Dayton amps seem to have a protection circuit that shuts them down when they’re driven too hard. It’s better than having the amps blow up, to be sure, but a bit of a drag having the audio suddenly drop out. Sending the low frequency signals to the sub seems to ease the load placed on the hemi amps. I’ve also been experimenting with limiters and high-ratio compressors, but I haven’t yet found the silver bullet. I’ve only scratched the surface of spatialization possibilities with this setup, and I’m looking forward to working with it even more.
